
definition of oblique line by Medical dictionary - what is an oblique line
Filmlighting
First, let’s understand the importance of light in film and video production. Back in the day when every movie was shot on film, a lot of light was required to produce a nice image. Over the years, light started being used as art. Lighting sets the mood and style for the best images we carefully craft. Like my old college teacher would tell me, the cinematographer paints the director’s vision. Lighting is an artform in itself.
The phrase “practical lighting” comes from the lights seen on camera. For instance, a three point lighting setup may be used on the subject, but a lamp is in the shot and its on. The lamp is a light source as well and is known as practical light. You can use practical lights to your advantage if it is all you are working with.
To analyse edge images for distortion, you need two folders, distortion_h and distortion_v inside your data folder, and then run:
Remember, it always goes back to telling the story. What makes sense in terms of pushing the story forward in the best way possible with what you have? Don’t just settle with the mentality there’s nothing you can do. Maybe there’s another angle you can show — maybe a different corner or closer to the window. Maybe shooting at sunrise is better than noon. You have choices, so use your lights wisely. Good to go? Ok….ready….Lights…Camera…Action!
Likewise, if you have a prominent light source on-screen in an interior setup, make sure to position your camera and subject to pick up the best lighting possible.
Something I do quite a lot of, as part of the Openflexure Microscope project, is characterise microscopes. Currently, these scripts are how I do it.
Practicallight bulb
Sometimes, practical lighting can be perfect for producing a particular effect. For instance, the silhouette look can look amazing when done well. In the 2007 film “American Gangster” directed by Ridley Scott, cinematographer Harris Savides used silhouettes beautifully. Often times, a character will stand near a window and the exposure will be set for the outside while the interior drifts into a shadow. This is a nice look you can play with when using practical lights.
This will produce an 8-bit PNG and a 16-bit TIFF file containing the raw image data, and a text file containing the image's metadata (which includes the sensor model, the analogue gain, the white balance gains, and the shutter speed used).
Lights, Camera, Action — “Wait, but we don’t have the lights! How can you have camera and action without lights?!” Well, if you don’t have the budget for expensive hollywood lights or an Oscar winning cinematographer, not to worry. We’re going to go over some ways to use practical lighting the right way to still give off a cinematic look.
Let’s go outside for this next example. Have you ever had someone take a picture of you and when you got the phone back, you can see you are not properly exposed? Just a big sun glare behind you? Understanding where the sun is and angles are super important. Remember our three-point lighting: key, fill, backlight. Outside during the day, the sun is the main light source. If the sun is behind you, the sun is acting as a backlight. If the sun is in front of you, the sun is acting as a key. Straight on doesn’t always lend the best results. Sometimes, you want the sun hitting at an angle and then once again, use the bounce card to pick up the rest. The sun is the most powerful light source we have. So every camera shall be able to expose for the sun.
Practicallight
Practical lightingexamples
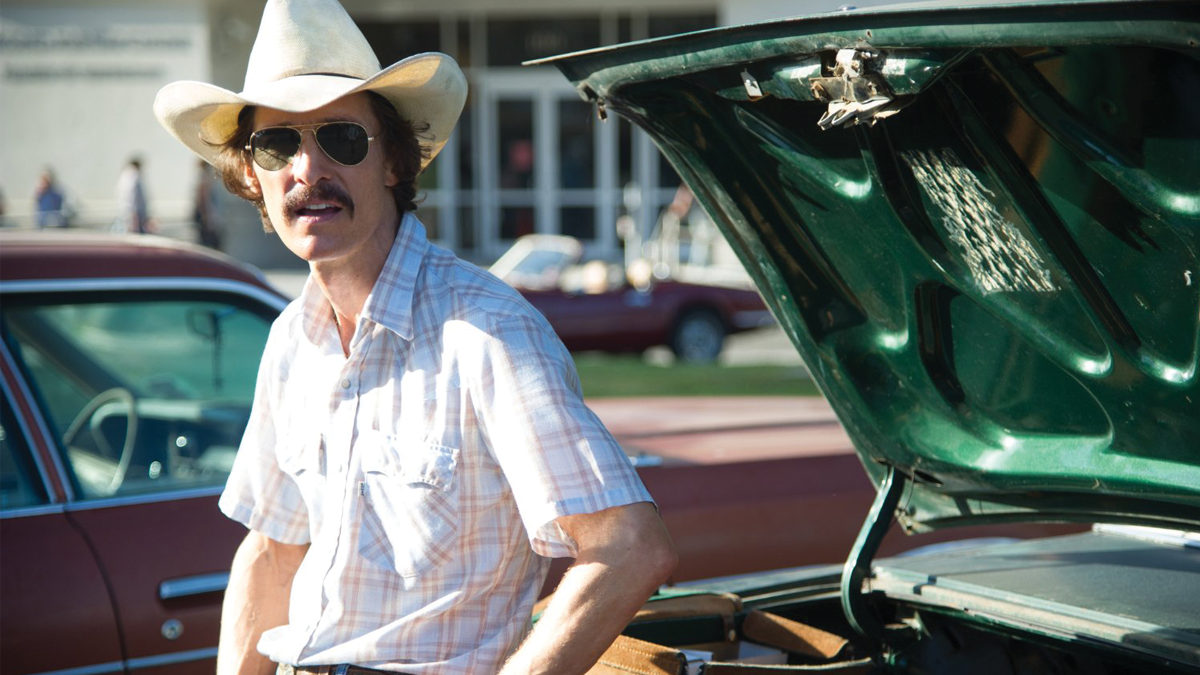
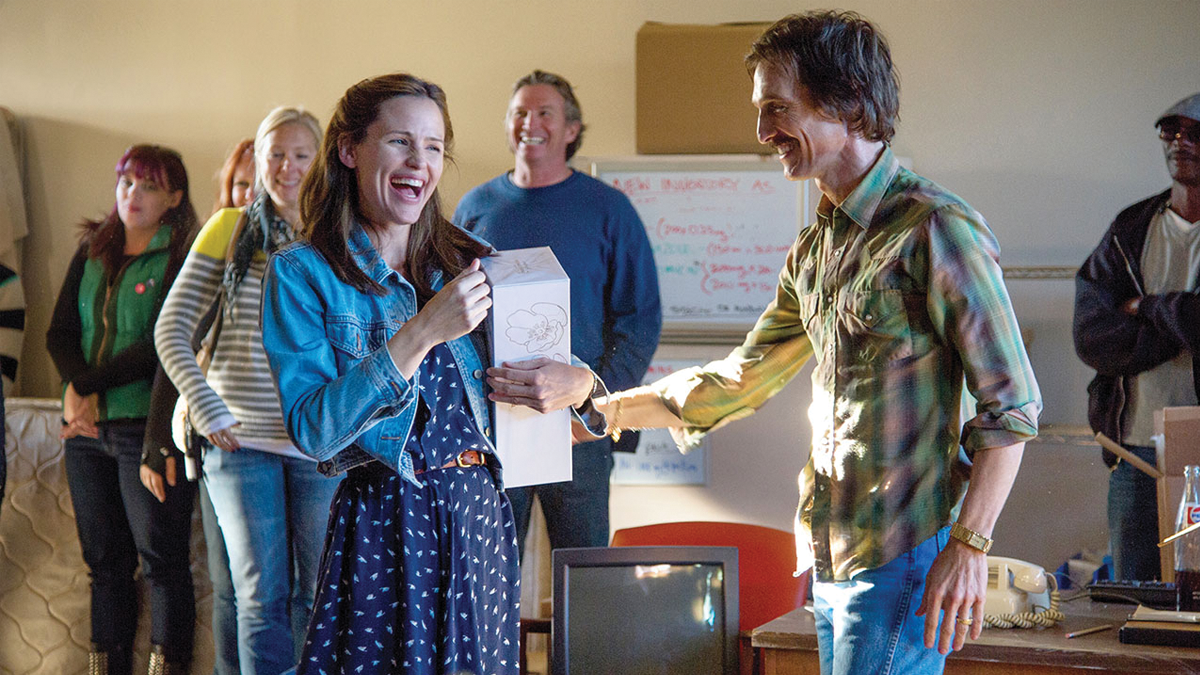
Jean-Marc Vallée’s “Dallas Buyers Club” starring Matthew McConaughey is a film which used all natural lights. It was a huge accomplishment in cinema for Cinematographer Yves Bélanger and the entire team. Check out some stills from the film and try to think of how choices were made to get the most of of the natural light.
Rule number one is to choose a location which lets you get the most out of the lighting that’s already there. Now remember, when you’re dealing with practical lights, especially fluorescent lights, they may pulse at a different speed and you’ll have to choose your shutter appropriately to avoid the dreaded flicker. Make sure you or your camera operator understand and shoot at an appropriate setting with an appropriate camera. As a safety, always review a test shot to make sure your shot looks the way you want because, believe me from first hand experience, it is extremely difficult to tell through the viewfinder alone.
All the analysis programmes produce a PDF report with graphs and key numbers, which is generally saved in the folder you are analysing, or in the same folder as the file, in the case of single files. If you analyse more than one folder, each folder gets a PDF, and additional summary PDFs will be generated in the current working directory, summarising all the folders.
Understand, lighting sets the mood. Let’s say it is a very dramatic scene and you’re inside. For dramatic scenes, it is standard practice to shoot at higher ratios, higher contrast and harsher shadows. If you use the desk lamp as your main source, you can get closer to this effect. Here’s the secret. You can change the bulb to be a more powerful light source. It does not have to be the standard bulb that comes with the lamp. The bulb is usually not designed to give off a lot of power. Changing the bulb can give you more light or even a different color temperature. Choosing the right lampshade can also help you achieve your desired level of diffusion, either fuzzing out or emphasizing the shadows in your scene.
Distortion can also be measured using an edge; assuming the distortion is primarily radial, a straight edge will appear to bend as it is translated across the field of view. The distortion analysis script takes folders of images where an edge is scanned across the field of view, and recovers the distortion of the line as it is moved.
The first order of business is when you’re choosing your shooting location. Depending on what you’re going for, you can prevent a lot of headaches by selecting the right location and angle.
Practical lightingvs motivatedlighting
For an interrogation scene, one overhead practical light source may be enough to set a dramatic or menacing tone. On the other hand, sometimes, you don’t want the shadows to be too harsh, so you may throw in a bounce card to provide some fill. With three-point lighting, you have your key, fill, and backlight. With our practical example, the one light is the key and the bounce card will act as the fill. In situations where your light source is coming from overhead, usually you’ll get shadows covering the eyes. Emotions are in the eyes, so use the bounce board to hit those eyes — unless of course the story calls for the eyes to be obscure.
The scripts can generally be used to analyse either a single measurement (by passing a folder of images, or a single image) or multiple measurements (by providing multiple folders/files, or one folder that contains many such folders/files). A convenient way to pass multiple folders or files in is to use a "wildcard", for example specifying folder/usaf*.jpg will analyse all the jpeg files in a particular folder, where the names start with usaf. All the scripts should display usage information when run with no arguments.
Videomaker is always looking for talented, qualified writers. If you have a great idea you’d like to share with our readers, send it to editor@videomaker.com.
If you use a space with large windows and a lot of natural light, you won’t struggle as much with underexposure. Some interiors also use creative light setups already. Look for these opportunities to help improve your production value. Let’s say it’s a night scene. If you’re shooting in an alley with virtually no lights, it’s going to be really tough trying to get exposure without a lot of unwanted noise. But if your characters happen to be walking past a storefront with all its lights on, it’s a different story.
Partner with us to reach an enthusiastic audience of students, enthusiasts and professional videographers and filmmakers. Click here to contact a sales representative and request a media kit.
You can also extract just the jpeg information from a jpeg with raw data attached; this can be useful if you need to send it by email. To do this, run:
Practical lightingin film examples
With modern equipment, fewer and fewer lights are required to get a good picture. Affordable cameras are being made to perform well in low light situations, opening up more creative lighting possibilities than ever.
The US Air Force resolution test target consists of a series of "elements" of three horizontal or vertical bars. Usually the target is used by determining the smallest resolvable element, noting its number (given as a "group" and within that an "element" number), and finding the pitch of the three lines. However, this doesn't work so well for microscopes, as the smallest element on most easily available targets is usually group 7, element 6, which has a pitch of 4.4um, i.e. the bars and spaces in between are 2.2um. This is resolvable in even a fairly modest microscope.
To determine resolution, we take images of an edge - it's convenient to use one of the large squares provided on the USAF target for this. After acquiring images ad different values of defocus and different positions of the edge, we can differentiate the images to get the response to a point source (assuming the edge was sharp) and recover the point spread function.
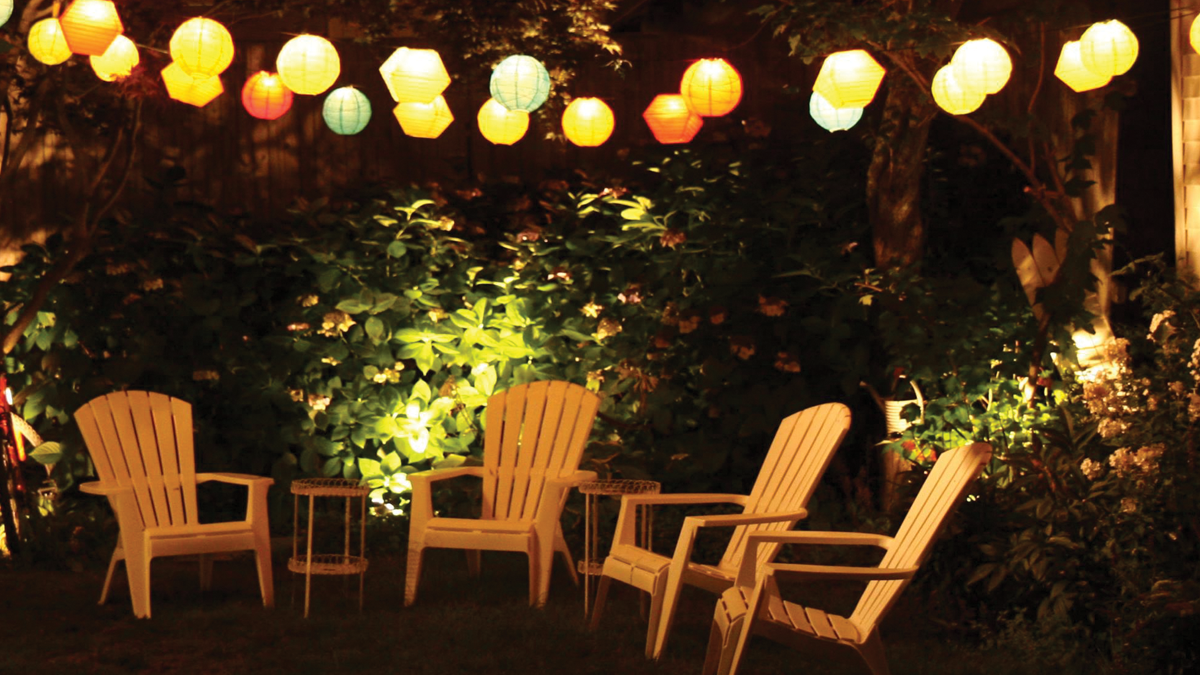
Lastly, with practical lights, whenever you can, make sure they make sense in the scene and use them as production value or as a character. Let’s say it’s a party scene at night on the backyard porch. Are we just going to have the porch light on? This might not match the tone of the scene, so consider what will be stronger visually while also providing more light. Instead of one harsh overhead light, use softer string lights you can drape strategically around your characters.
Instead, this script uses the USAF target as a convenient object of known size - it will automatically locate the elements in an image, and accurately determine their size in pixels. From this, so long as the smallest element is known (the code assumes it's the group 7 element 6, though that can be changed), we can figure out the pixel size and field of view.


 Ms.Cici
 8618319014500