
Polarization | Physics - define polarization of light in physics
Some meters, the Sekonic L-308S-U included, will only allow to use the ambient mode in shutter priority mode. In other words, you can only set the shutter speed and the ISO. Most of the time though shutter priority mode is what youâll be after anyway, so it shouldnât be a problem.
So youâre wondering about light meters for your photography? In this post Iâll try to distill down the essentials to get you up and running with using a light meter. Iâll finish up by answering a few common quesions.
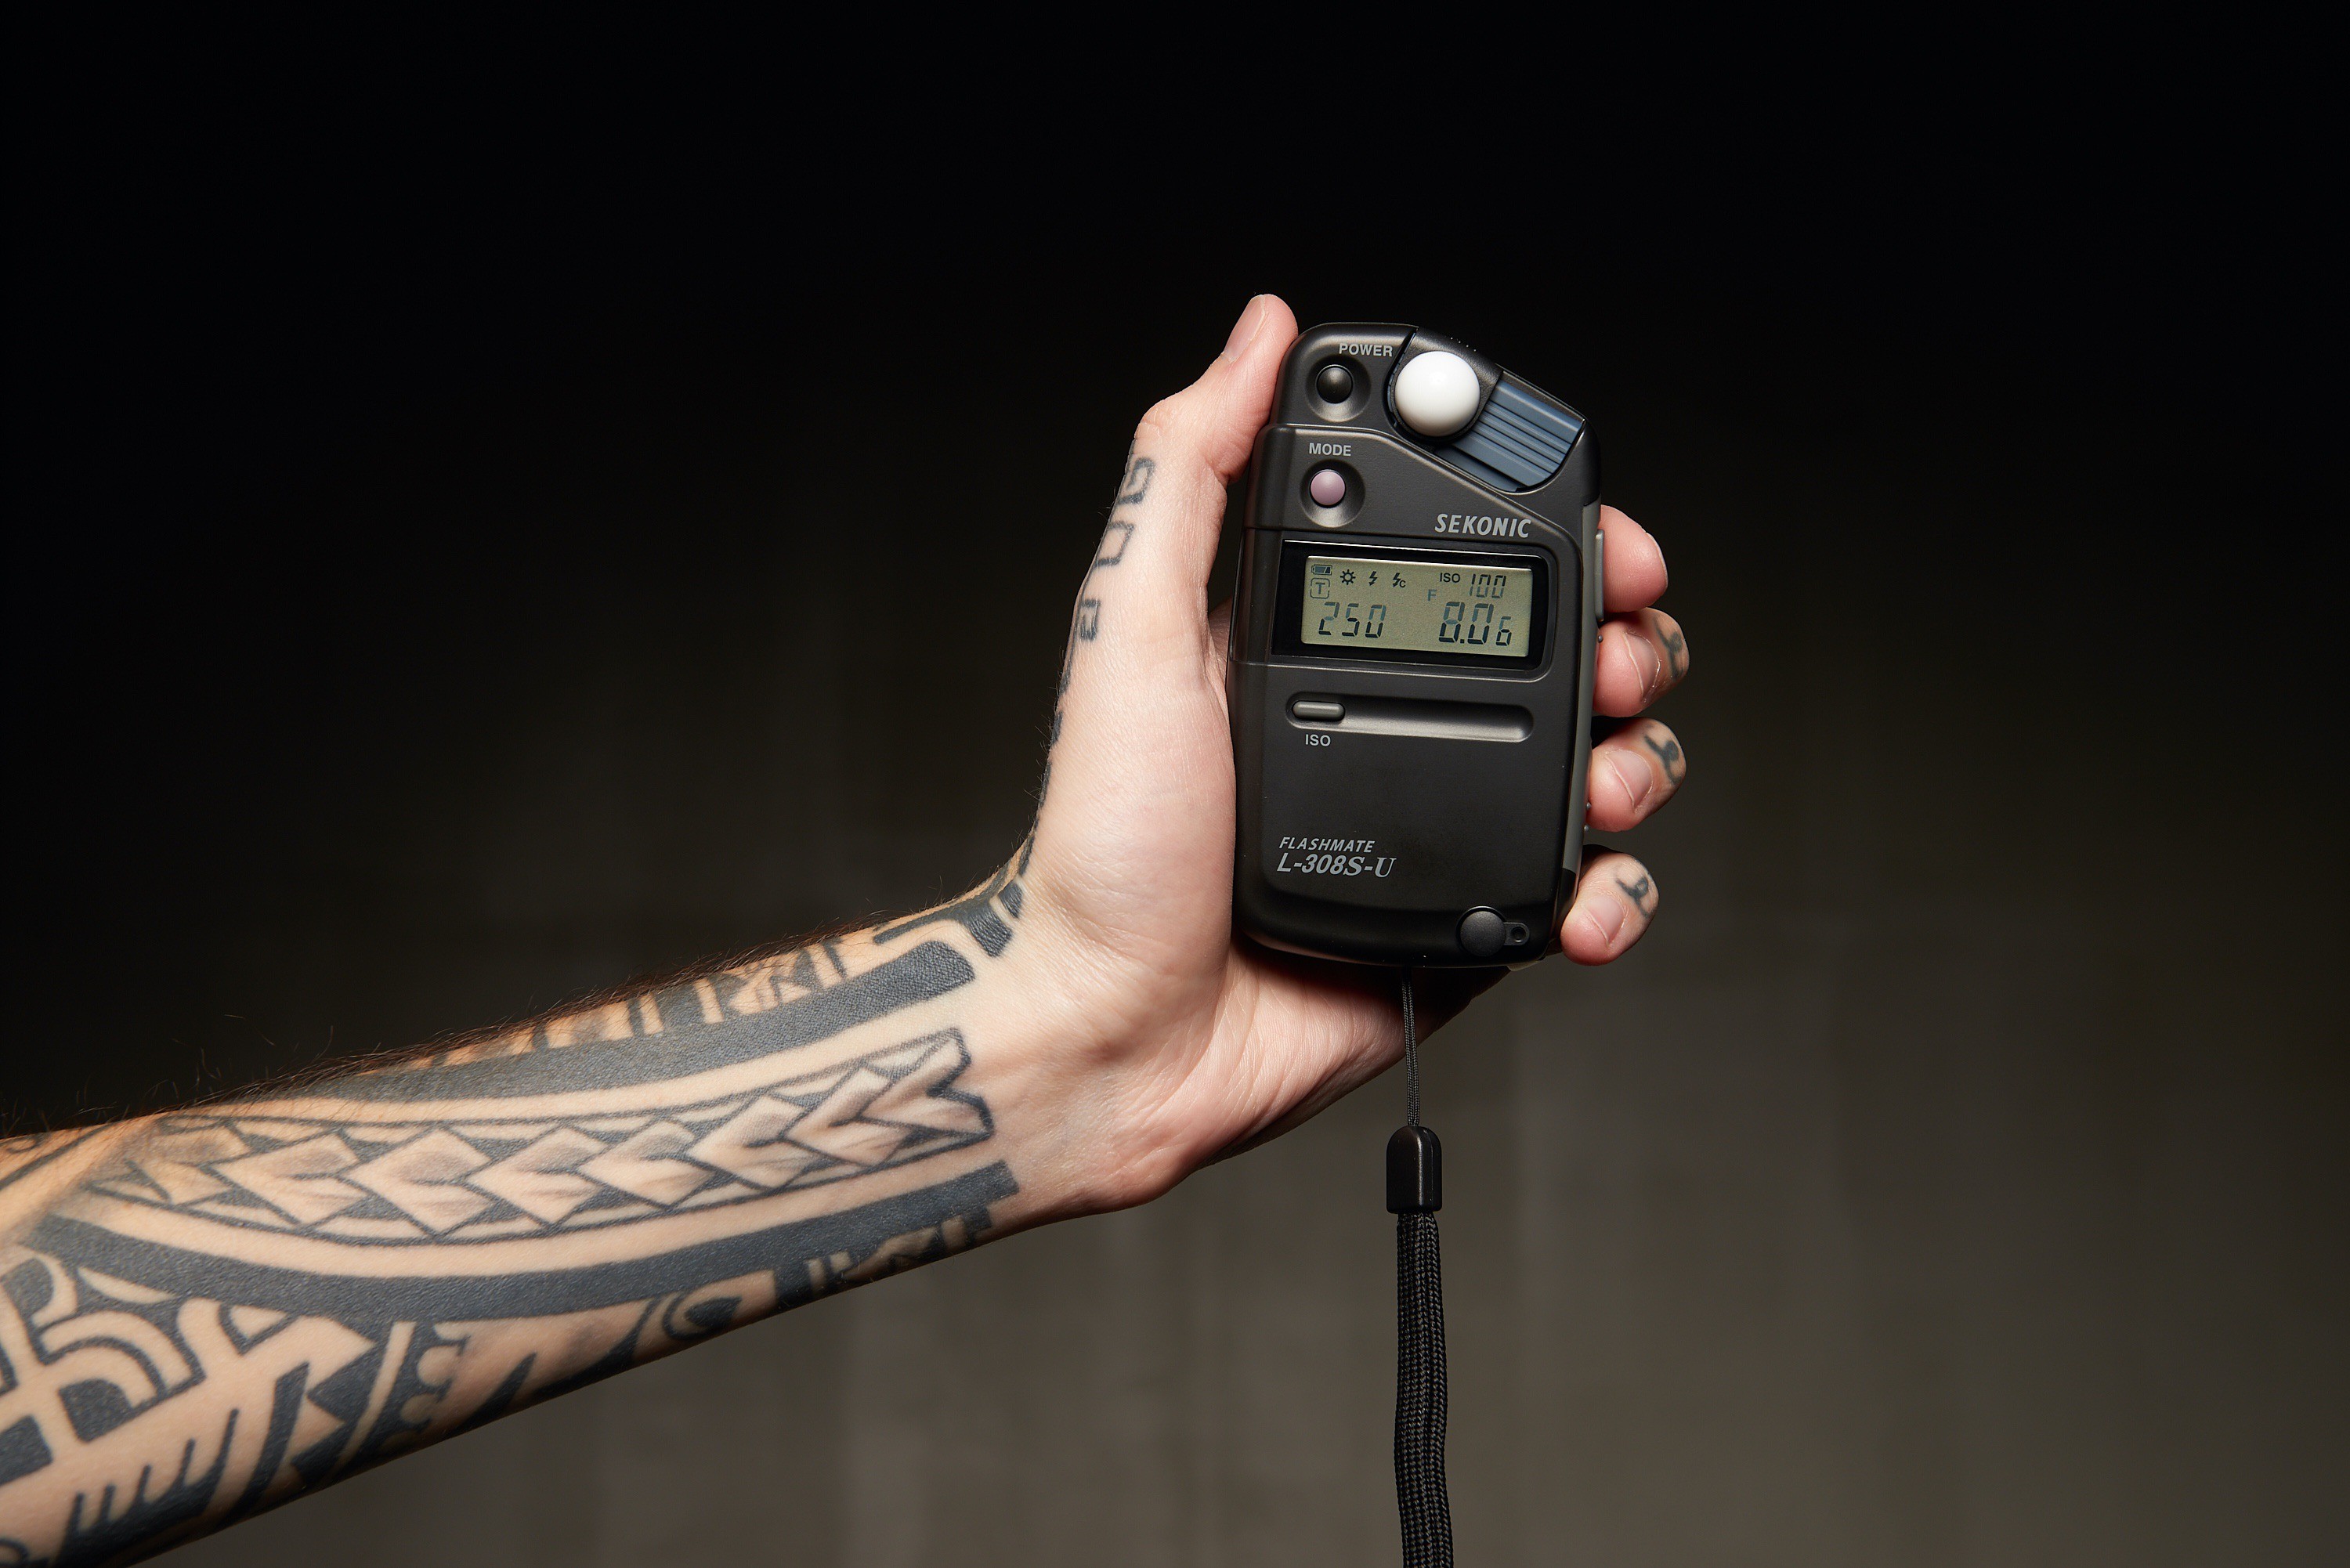
The light meter has a white dome called a lumisphere which reads 180 degrees of light in the scene and averages it to arrive at a mid-gray. This is called incident metering, meaning the reading is made by actually receiving the direct light thatâll be used to expose your photograph. Thatâs different than reflective metering, which reads that light thatâs reflected back and is the type of metering that cameras do.
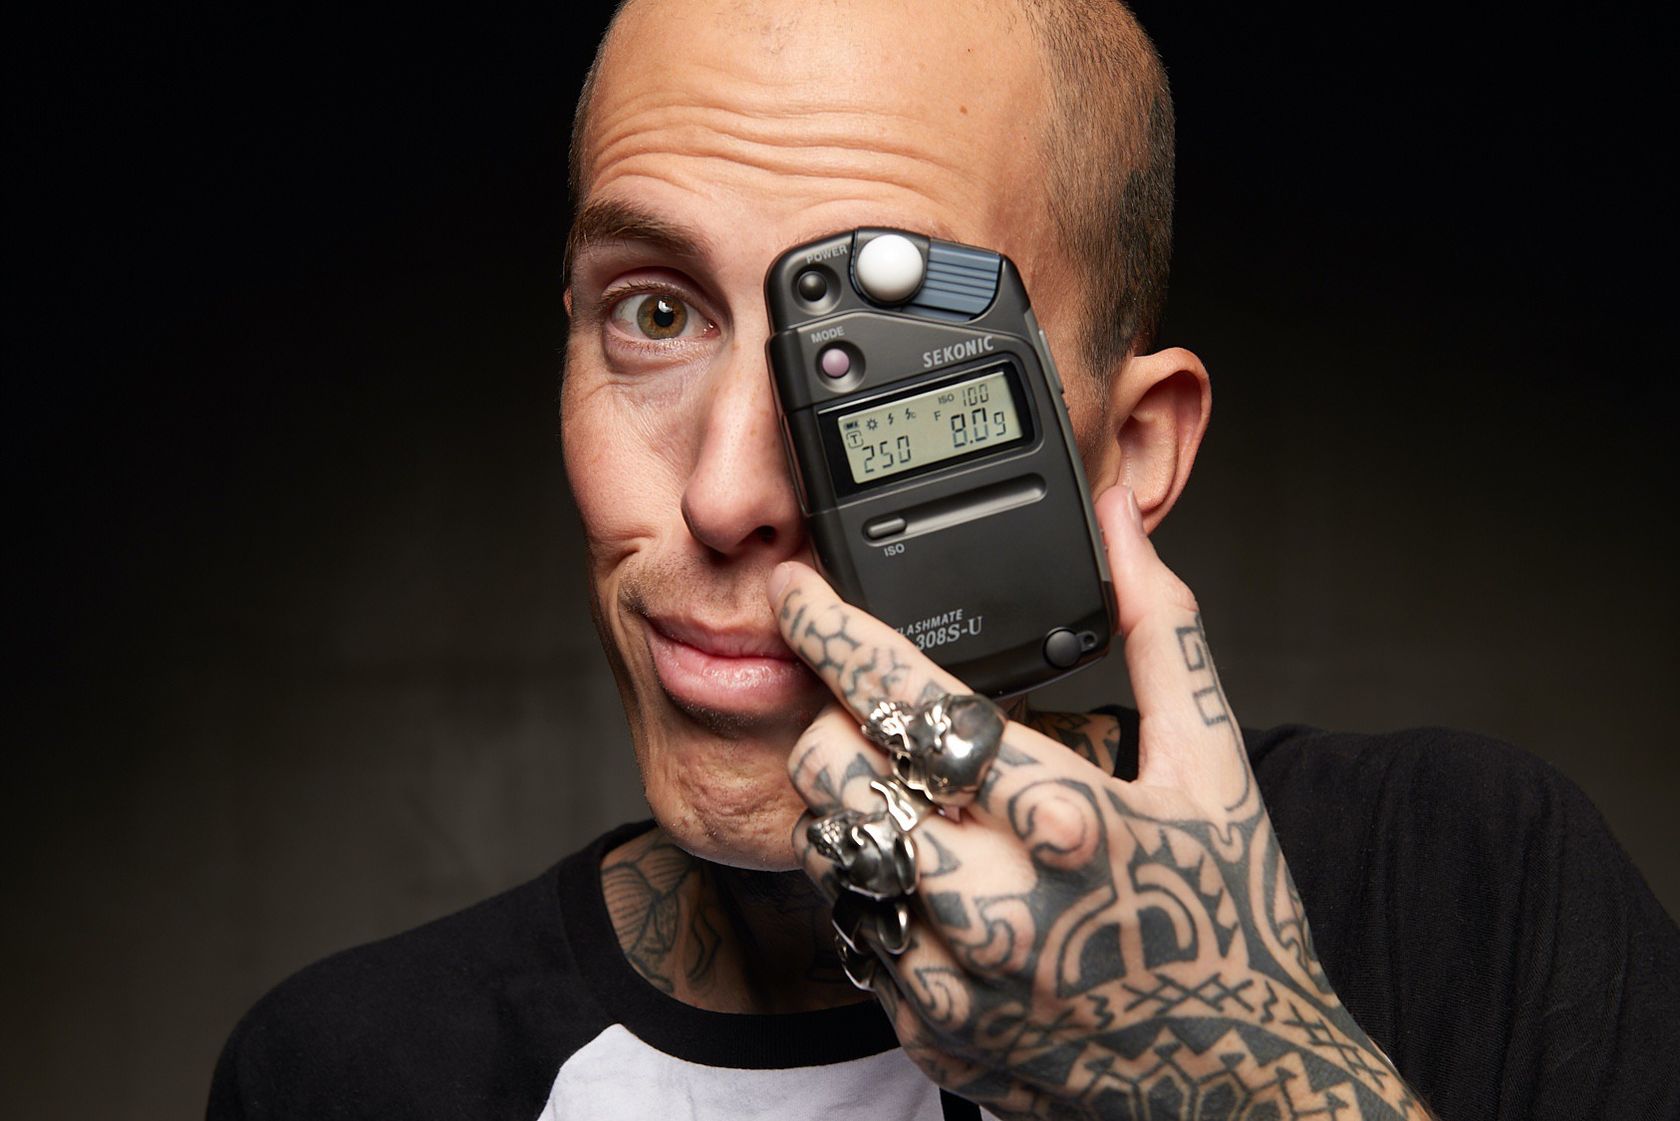
To take a meter reading, you place the meter in front of your subject and take a reading. For portraits, itâs common practice to place the meter right under the modelâs chin, because it can otherwise be a little annoying to the model to place the meter right in front of their eyes.
hands-free lighted magnifyingglass
The basic idea of a light meter is to measure the amount of light falling on a scene and tell you what camera settings you should use to achieve proper exposure for that scene. You do that by inputting two out of the 3 values from the exposure triangle and the meter will tell you the correct value for the 3rd one.
For example, if you know you want to shoot at ISO 100 and at a shutter speed of 1/160s, youâll input those in the meter and then take a meter reading to get the aperture you should be shooting at for proper exposure.
When metering in flash mode, youâll almost always want to set your ISO to the lowest possible value for your camera (100 for most cameras) and your shutter speed to your cameraâs sync speed (1/250s for my Nikon camera), so it becomes a no-brainer really.
Professional MagnifyingGlass with Light
A light meter definitely saves time though, especially when you start tweaking/moving your lights around and wanting to make sure that youâre staying at the same exposure.
By default most meters are set to show values at either 1/5 stop or full stop increments, but most cameras and flashes use 1/3 stop increments instead. For accurate values, itâs therefore pretty important that you set your light meter to use 1/3 stop increments. With the Sekonic L-308S-U, hold the power button at the same time as the mode button, the display will then show the current increment selection. Press the mode button to set it to 0.3. Now just hold the power button to power off the meter and save the new setting.
You most certainly can, and many photographers never use a light meter. Youâll just have to do more trial and error to arrive at the proper exposure. With time though, youâll tend to become pretty familiar with your equipment and able to take pretty good guesses without as much trial and error.
JavaScript seems to be disabled in your browser. For the best experience on our site, be sure to turn on Javascript in your browser.
Best Lighted MagnifyingGlass
Shop our large selection of Lighted magnifiers will offer a wealth of vision benefits and enhancements over unlighted magnifiers, especially for those with low vision needs. Light is an essential component for vision, & is required by everyone to see. Light requirements however, vary greatly especially for people with low vision needs and as our eyes age they often require more light. With added LED or incadescent illumination, you will experience heightened contrast, reduced eyestrain, and clearer vision, especially for those with low vision conditions like Macular Degeneration, Cataracts, Glaucoma, Diabetes, and Retina issues. Lighted Magnifiers are the most recommended magnifier style by Optometrists and Ophthalmologists, our LED Magnifiers excel in detail inspection, perfect for reading small type and text with minimal shadowing. Choose from a variety of magnifications, from 1.5x to 4x, tailored for age-related eye issues. Shop now for a huge selection and brighten your world with Magnifier.com!
So maybe itâs all starting to make sense for you, but you may be wondering about how it works with natural light vs constant light vs flash. Thatâs where metering modes come in!
Light meters are great and can save you a ton of time instead of the trial and error thatâs inherent to shooting without one. They are not artists though, and can only tell you what the proper settings should be for a âcorrectlyâ exposed photograph. That doesnât mean that thatâs what youâre after. Maybe youâre trying to create something really dramatic and dark, extra contrasty, or light and airy. Thatâs why itâs also important that you make the final judgment call in how your want your photo exposed. The light meter will get you there right away most of the time, but other times itâll just get you in the ballpark and youâll want to adjust so that the result looks like what you wanted.
Walmart MagnifyingGlass with Light
The meter in your camera is really useful, but doesnât cancel out the usefulness of a handheld light meter. The meter in your camera is a reflective meter and tries to make the overall scene average to a mid-gray. The meter reading will therefore be off when youâre trying to take a photograph of something thatâs really light or really dark.
Lighted magnifyingglass withstand
Your photos are turning out a bit soft or you miss focus a bit too often? Check out these 17 tips to help improve the sharpness of you images.
For any type of constant light, which includes natural light, youâll use the meter in Ambient mode. Often that mode is represented by a little Sun icon ï¸ï¸ï¸âï¸. In ambient mode, once youâve set your ISO and either your desired shutter speed or desired aperture, you can then take a reading or even hold the reading button and move around to see if the light meters differently at different areas of your scene.
If youâre shooting with flash, but donât have an easy way to trigger your flashe(s) remotely from where you are when youâre metering, you can use a PC sync cable with one end connected to the light meter and the other end connected in the flash. With that setup, pressing to take a reading will trigger the flash. On the Sekonic L-308S-U, the cordless flash mode is represented by a lightning bolt icon â¡ and a little âcâ next to it.
If youâre shooting with flash, a good rule of thumb is to set your camera at whichever aperture you want to shoot, and then take meter readings and adjust your flashâs output power until your meter reading reflects what your camera is set at. Having your camera set at a specific aperture value and tweaking the flash(es) instead is a good idea because if you change your cameraâs aperture setting all your flashes will be affected at once, versus being able to tweak each flash on its own.
Very good question! There are different schools of thought when it comes to that. Some say you should always point the meter at the camera, some say you should always point it at the light.
I actually like Mark Wallaceâs breakdown in this video and agrees with his opinion that it depends on what youâre trying to prioritize. If you point the meter at the camera, youâll get a good overall reading for an exposure thatâs correct throughout, and if you point it at the light youâll get a right exposure thatâs more targeted at where that light falls. If your goal is a higher contrast image, pointing at the light makes sense, but if you want things more even stevens, then pointing at the camera is the best bet.
Wondering about which lens focal lengths are best for portrait or landscape photography? This chart should help out in your lens choice.
Magnifying Glasseswith Lightfor Hobbies
Plus, the light meter in your camera canât meter the light output coming from your flashes. So with flash photography the meter in the camera becomes pretty useless really.
Most light meters also have the ability to take a reflective reading, but for the rest of this post weâll focus on incident metering, which the way light meters for photography are used most of the time anyway. Using reflective metering can be useful if, for example, your subject is too far and itâs not really possible to go get a meter right where your subject is at. On the Sekonic L-308S-U meter, you can push the lumisphere to the side to use the reflective metering.
This mode is probably what youâll end up using most often if youâre shooting with flash. Some light meters have an integrated radio that can trigger the flash remotely. Sekonic L-308S-U is a more bare bones meter, so it doesnât have a radio. What youâll do instead is press the button to take a reading and then the meter will be in standby and wait for a flash to happen. You can just press to take a reading and then press the test button on your flash remote trigger.
So, for example, if your camera is set for an aperture of f/11 but your meter reads at f/8, youâll want to increase the power output on your flash by a stop so that it then meters at f/11.
Iâll use the Sekonic L-308S-U light meter as an example, but the principles will apply to just about any handheld light meter. If you want to get a light meter though and not sure what to buy, that Sekonik model would be a great choice because itâs cheap, but has all the features youâll likely need.
When youâve metered once, you can change the values that you started with and the 3rd value will be adjusted automatically. Beats trying to the the math in your head, and saves you from re-metering at the different value unnecessarily.


 Ms.Cici
 8618319014500